5 Monthly Maintenance Steps for Your Laptop or Computer

5 monthly maintenance steps for your laptop or computer

Maintaining your laptop is essential to ensuring it runs smoothly and securely. To simplify the process, you can create a checklist of monthly maintenance tasks you must do. Here are five routine maintenance tasks that can help keep your laptop running optimally:

Clean Your Computer

It’s essential to clear out all unnecessary programs and old files from your computer when performing monthly maintenance. Doing this will clean up disk space and help improve system performance. Use the built-in disk cleanup tool to eliminate junk files and free up space on your hard drive.

Physically Clean Your Computer

Cleaning your laptop physically every month can help maximize performance and prevent components from getting clogged with dust or dirt. Wipe the screen with a cloth to keep it smudge-free. Also, take extra care when cleaning fans and other internal parts. They contain delicate components that could easily be damaged if mishandled.

Update Your Software

Updating all installed software is critical for security—it helps protect against viruses, malware, and other threats. Periodically check for any Windows updates you may have missed, then install them immediately. It’s also a good idea to track when specific programs require updates so you don’t forget about them over time.

Do an Antivirus Scan

Perform a deep scan at least once a month to check for any hidden viruses or malware in your system files. A quick scan should also be done more often—ideally, once per week—to make sure nothing slips through the cracks. Regularly update your antivirus program for optimal protection against potential threats.

Backup Your Data

Backing up data is essential—you never know when something might go wrong and cause irreparable damage or loss of information without backup copies stored elsewhere (in the cloud or external storage devices). Aim to backup data at least once per week or at least once per month; this depends on how frequently the data changes or gets updated by users in your organization or home network.

At 4 Corner IT, we understand how important regular laptop maintenance is for keeping devices in top shape while protecting users from cyber threats like viruses and ransomware attacks. Our team of experienced technicians is here to help ensure that your IT needs are taken care of quickly and effectively so that you can focus on what matters most—your business!

Contact us today for more details about our services!

Magnets Are Not Your Computer’s Friend

a person holding a pair of scissors in their hand

When we invest so much money into a new computer system, we need to ensure we do all that we can to protect our hardware from damage. Magnets are one of the biggest risks to computers. No matter how advanced your device is, you need to do all you can to protect it. Let’s look at how magnets can damage a device and whether it’s something you should be concerned about.

The Truth About Magnets and Computers

If you look at magnetic fields in a scientific manner, it’s true that magnets can damage electronics. However, the length of time the hardware is exposed to the magnet and the strength of the magnetic field will have a huge impact on the damage that’s done to your microprocessor. A small fridge magnet or a case on your tablet won’t cause major damage. In fact, most small magnets you have lying around your home will likely be safe to keep around a computer.

Large, heavy-duty magnets are the things you need to be aware of. They are much stronger than your typical fridge magnet. They can even erase and destroy data, causing permanent damage to electronics.

How Much of a Risk are Magnets to Your Computer?

For anyone who works with heavy-duty magnets on a daily basis, you are likely to experience a greater risk to your devices. Most people are going to be okay in their working environment, and will find that the magnets aren’t in operation or strong enough to cause any disruption.

You might be surprised to learn that most hard drives have magnetic disks, which are used to store and write the data on them. They are stronger than your typical fridge magnet, so there is pretty much no chance of damage to the microprocessor.

Smartphones can also be disrupted by a strong magnetic field. Many phones use magnetic materials, such as iPhone cases, but the risk is reduced when you take away the magnet. Smartphones don’t use magnet discs, however, they usually have small magnets, which can temporarily disable some functions with exposure.

The Final Word

To play it safe, we recommend that you don’t use your phone or computer around strong magnets. The magnetic field might not do permanent damage, but you’ll not want to play around with this just in case it causes long-term damage to your devices.

We hope that this helps you to protect your devices in the future. Let us know if there are any other topics you’d like us to discuss in the upcoming weeks, so that we can address some of your most pressing concerns about technology. For further assistance, contact our team today, who will be happy to share how we can stop your systems and devices from becoming corrupted in the future by exposure to magnets or other security risks.

Contact Us Today and Check Out Our Blog!

How to Make Autocorrect Less Ducking Annoying

a man sitting in front of a laptop computer

While autocorrect is an excellent feature for mobile devices to offer, we all know how much of a pain it can be when it accidentally creates text typos. This leaves many individuals feeling embarrassed and stupid, when they were trying to compose a message to their loved ones or business clients. Keep reading as we discover how to adjust your autocorrect settings, so you can avoid some of the most humiliating autocorrect fails in the future.

How to Adjust Android Settings for Autocorrect

The information we’re going to share here is suitable for anyone using the Gboard keyboard that Google has added to Android settings. Firstly, you’ll need to head to the Settings app, then select System, Languages and Input, On-screen keyboard, Gboard, and lastly Text correction.

When you get here, you’ll see an option to switch auto-correction on or off. There’s also another button to switch off predictive text under the Show suggestion strip selection. Here you’ll find some other customization options to avoid autocorrect fails too, such as switching off the ability to use vulgar words.

The Dictionary feature allows you to add words to your own dictionary, which can be a great feature. Just press the + button to add any words you frequently use, so that Gboard can recognized them when you next use them. This can help to avoid autocorrect fails that will embarrass you with your family and friends.

One thing we particularly appreciate about the Android setting options is that you can also help it to learn how to make better predictions. When you click through System, Languages and Input, On-screen keyboard, Gboard, and Advanced, you can then select Improve voice & typing for all using data saved on your device and clear the data to delete any learned words and data on the device.

How to Adjust iOS Settings for Autocorrect

You’ll find that with iOS settings, there are fewer options for personalization, but you can still navigate to Settings, then select Keyboard to activate or deactivate your Predictive and Auto-Correction options. When you disable Check Spelling, you’ll find that misspelled words won’t be highlighted, but you will still be able to click on words to receive spelling suggestions.

For predictive text, you can reset the dictionary on your phone to start over again. Go to Settings, then select General. In Transfer or Reset Phone, choose Reset and Reset Keyboard Dictionary.

Let Us Help You Avoid Common Autocorrect Fails

Following the steps we’ve shared above can help you to avoid making simple mistakes in the future when texting personal contacts or business clients. While some autocorrect fails will leave you all laughing, others could cost your business greatly. Our team is here to help you prevent mistakes and protect your company’s data. Contact us today for more information about how we can assist your business to avoid these embarrassing errors and text typos in the future.

Contact Us Today and Check Out Our Blog!

How to Improve Your Battery Life

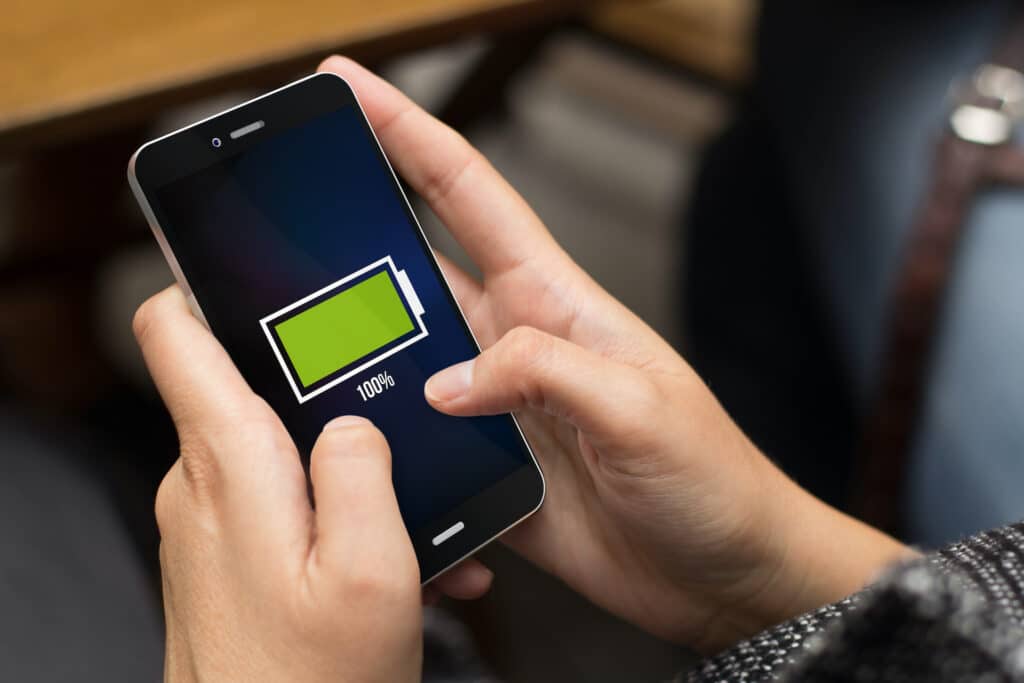
a person holding a smart phone with a battery on it

Everyone has encountered a time where their “phone’s about to die” since the battery is too low. There are several methods to prolong your cell phone battery’s life. This article emphasizes the simple and cost-effective solutions to keep your battery charged for an extended amount of time.

Try to Eliminate the Use of Battery-Draining Applications

Your opened applications can take up a lot of your cell phone battery’s life. The applications with more features take up a lot of power; thus draining the battery faster. For example, YouTube or an Internet browser requires the downloading of videos, links, etc. By reducing the amount of time spent using these apps, you can prolong the device’s battery life. 

Lock Your Device and Close Applications When They Are Not in Use

Not only is locking your cell phone extremely helpful from a security perspective, it can also help extend your cell phone battery’s life. Closing your applications can also help improve battery life, but to an extent. Generally speaking, if you no longer need to use an application, you can close it. Thus, removing it from your cell phone’s RAM (also known as, stopping the app from running in the background) resulting in reduced power consumption from the battery. On the other hand, opening an application takes more power than having an application run in the background for a few minutes to an hour.

Update Your Operating System 

The operating system (OS) manages how the cell phone functions. Thus, the OS is also involved with the device’s battery life. Keeping the operating system updated can normally improve your cell phone battery’s life. It will improve the overall performance of your device as it will utilize the available energy in a more efficient and optimized manner. 

Use Sleep Mode

Most cell phone devices will have an option available where the screen is turned off and the applications running in the background are paused until you actively use your phone again. Using the sleep mode setting can be an effective way to conserve battery life. Sleep mode also serves as some type of security measure because when the screen is turned off, it requires a password to start up again. 

Scale Back on Notifications and Location Services

Depending on the kinds of applications you are using, you can probably turn off notifications and location services to extend your cell phone battery’s life. If you do not need to be alerted by notifications for a particular app, it is best to turn off notifications so as not to drain the battery. Majority of applications ask to use your location in order to use various features. There are various options to choose from but if you allow location access only while using the app, this option will help to prolong your cell phone battery’s life. 

Let Us Help You Preserve Your Technology Today

4 Corner IT can help you and your business with technology solutions. To learn more, call us today at 954.474.2204.

Contact Us Today and Check Out Our Blog!

Tip of the Week: Hide Your Files in Windows 10

a person using a laptop computer on a desk

No matter what you use your computer for, there are many reasons why you may need to hide your files on your Windows 10 desktop. You could want to hide important files to keep them hidden on a shared computer, or maybe you want to try to prevent anyone from accidentally deleting important files. Or you can hide them to clear the distracting clutter on your desktop. The files you keep on your computer may be essential for you to keep, but if you want to find a better way to organize them, you need to make some changes so they aren’t in the open all the time. 

Windows 10 has built-in functionality that allows you to hide specific folders from view. You can hide your files from view but easily be able to access them all while keeping an organized desktop. If you’re looking to optimize security, you will need to take a little more in-depth path to ensure your files are securely hidden from prying eyes. You can work with IT professionals at 4 Corner IT to learn about file security. 

Hide Your Files from View in Windows 10

Hiding a file from view is more about keeping an organized desktop than security. It’s a personal preference setting that allows you to clean up your desktop and any other folders as you see fit. The setting is easily reversible, so when you need to quickly regain access to those files you’ve hidden on your desktop, it’s a simple task that anyone with any knowledge of folder settings can manage. 

You first need to open your File Explorer and find the File you want to hide to hide your folders. Once you have located your File, right-click on it and select Properties. The Documents Properties window will open on the General tab, where you can review the file settings. If you look towards the bottom of the window, you will see a checkbox next to the word Hidden. When you check the box, it will hide your files from view. This setting does not secure the File. It makes it so that you will not be able to see the File on your desktop any longer.

When you are ready to access any of your hidden files or remove them from the hidden view, open your File Explorer and select the View menu at the top of the window. In the menu items beneath the tab, there is a checkbox next to the word Hidden. When you check this box, you will be able to see all of your hidden items. You can use the above steps to remove your files from the hidden view.  

For more comprehensive security measures and tips, we recommend contacting the technicians at 4 Corner IT. With us on your side, you’ll have nothing to fear from hackers or other cybercriminals stealing your data. To learn more, reach out to us at (954) 474-2204.